My Top 5 Drawing Supplies
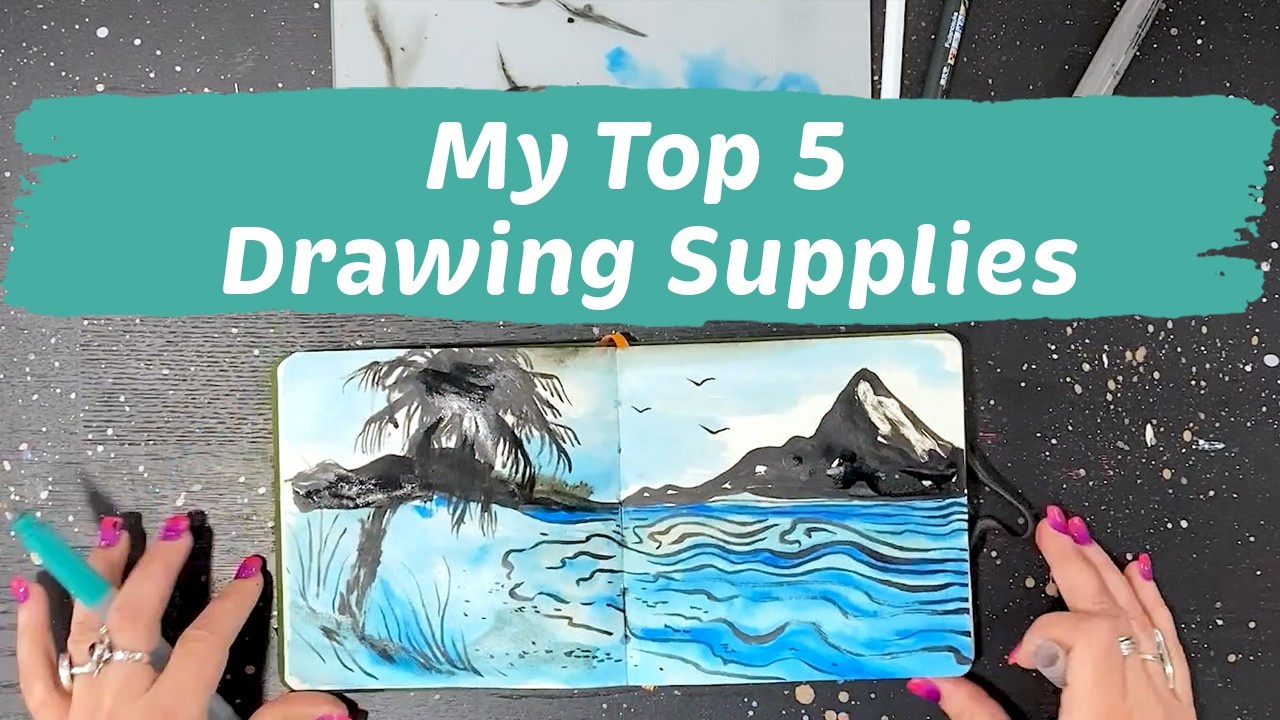
Want to check this post out as a video? Check out my Youtube Channel by clicking here!
It's so hard to choose art supplies sometimes! But what if I HAD to pick? Like what if I was stuck on a deserted island and only had five supplies to choose from? I think I've got that list covered. Plus a sketchbook, because to be honest, I'm never far from my sketchbook ever.
The Travelogue Hand Book:
This is definitely my comfort zone sketchbook. It’s perfect for so many reasons! The pages are square, but depending on how you hold your sketchbook that actually makes it very conducive to landscape or portrait spreads. The size is perfect for carrying around and not worrying about knocking into anyone or anything. Plus it has a POCKET. You could tuck found items in there for collage or even watercolor sheets for handy watercolors on the go.
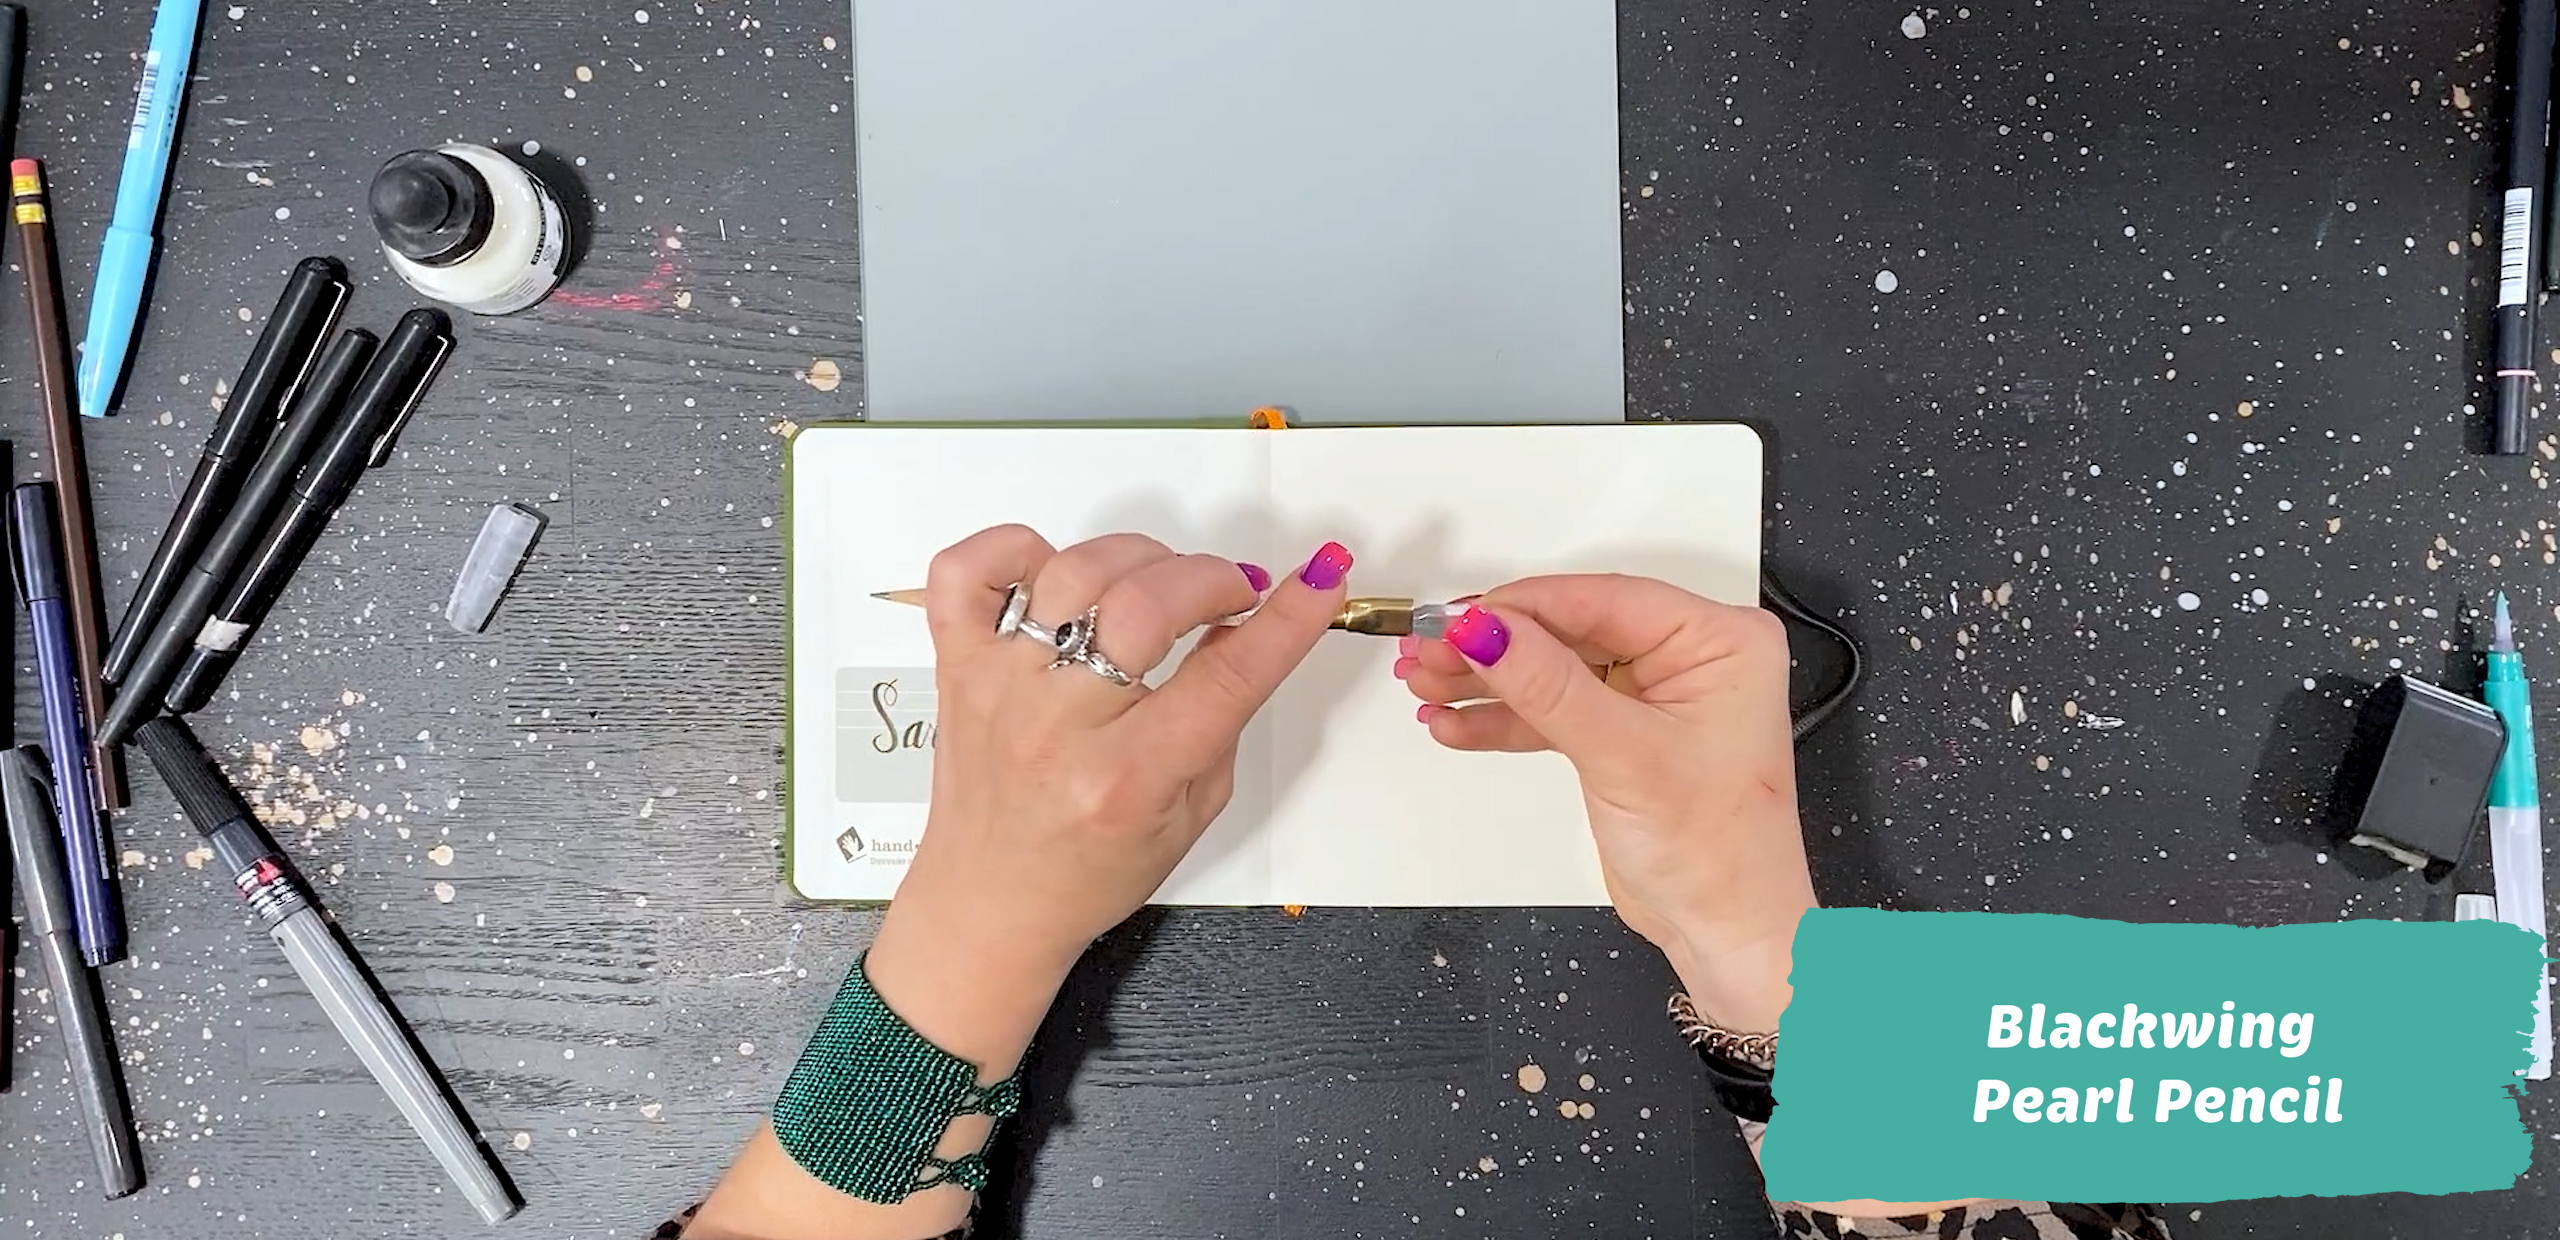
Blackwing Pearl Pencils
First off, these are beautiful pencils, and the Pearl features a softer lead, which I love for the...
3 Easy Color Palette Tricks for Artists
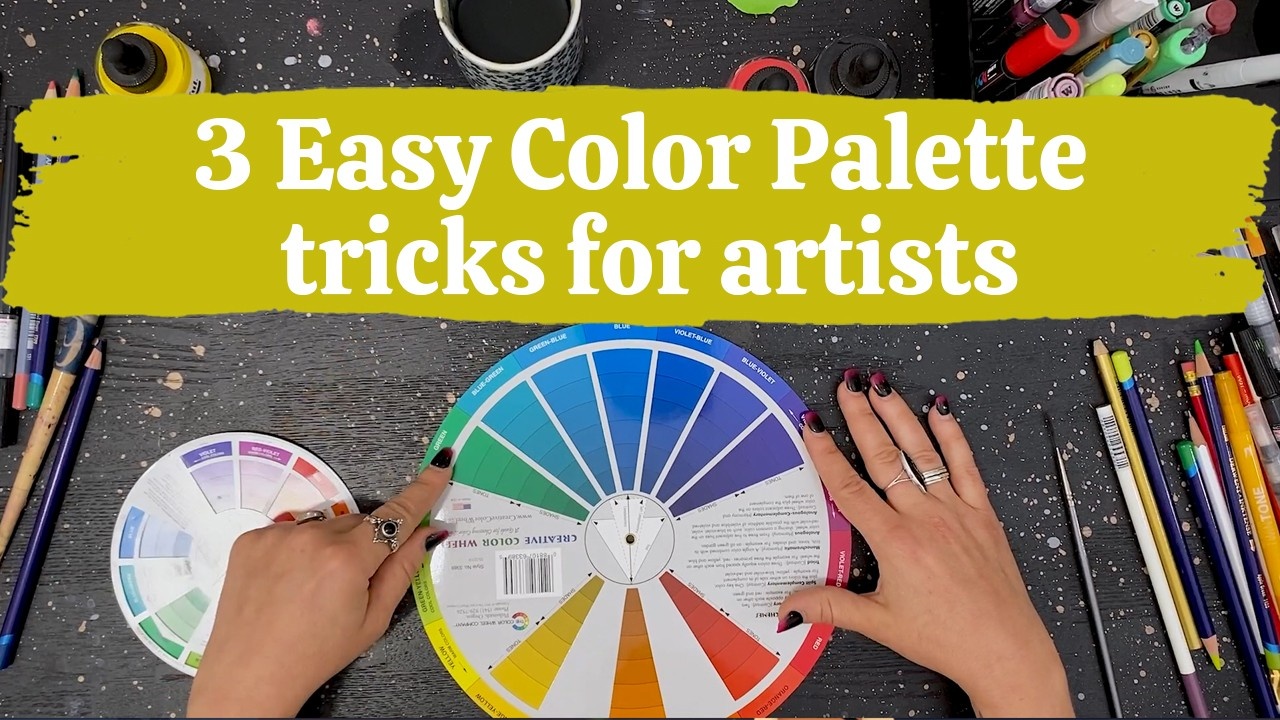
Want to check this post out on Youtube? Click HERE!
Ever want to start a project and immediately get hit by overwhelm? If you’re anything like me, you’re like “Oh my gosh, there are way too many colors to use.” And then I just shut down. I’m like “I don’t even know which one to use. It’s not fun anymore. I don’t want to make any art.” Well I don’t know about you, I hate feeling like that, so I have some tricks I use for quickly picking out color for art and sewing projects!
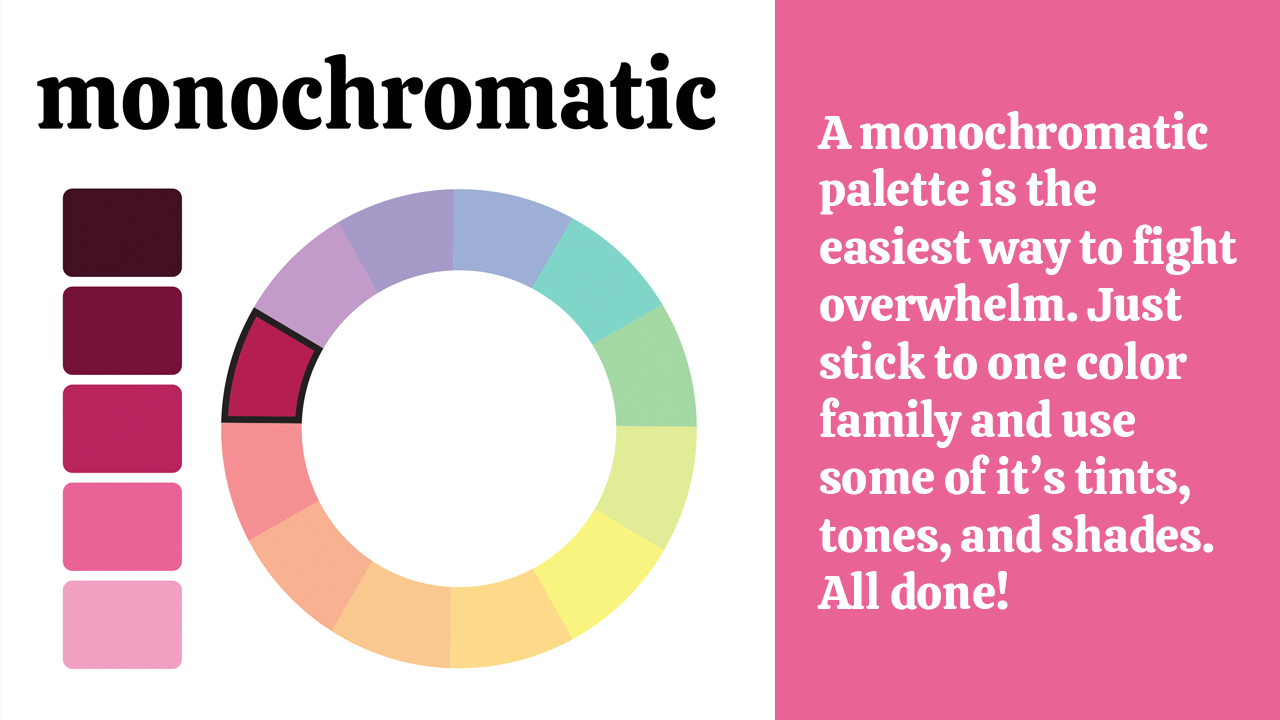
First: The easiest way to fight overwhelm and keep things really simple is to stick with a monochromatic palette. Monochromatic literally means one color. Using your color wheel, you can identify which color family you’d like to use, and then select your colors from the whole color range of tints, tones, and shades! (If those sound like new terms to you, a tint is a color with white added to it, a tone is a color with gray added...
Spooky Sewalong Part V: The Final Chapter
Guest written by Jane Youn
Welcome to our Candy Please! Spooky Sewalong Part V: The Final Chapter. That's right, it's the MAIN EVENT. Today, we are going to sew up up the Countdown Calendar, so you can fill it with prizes and have fun counting down the days to the best hallow-day ever, HALLOWEEN! You can find the Candy Please! Project Panel at fine retailers of Moda Fabrics nationwide. For today's steps we're going to need the following supplies:
- The Countdown Calendar section of the Candy Please Panel
- About a yard of coordinating fabric for backing
- About half a yard of coordinating fabric for binding
- OR Premade Doublefold Bias Tape
- About a yard of quilt batting. I used Warm and Natural but it doesn't have to be that heavy.
- Sewing Supplies! You know, scissors, thread, pins or clips, a sewing machine, all the classics.
- A snack of your choice. Today I'm eating candy corn.

So this week might seem haunting and daunting if you haven't had a lot of...
Spooky Sewalong Part IV: Pom-pom Pillows!
Guest written by Jane Youn
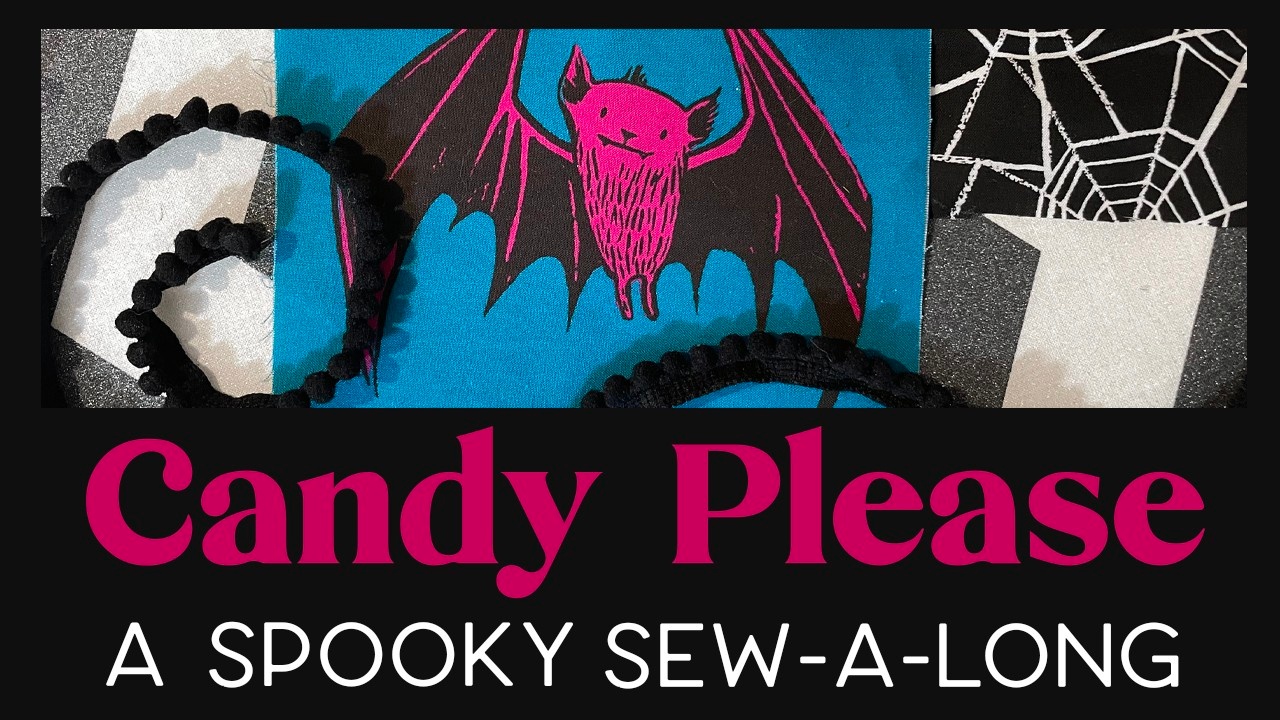
Welcome to our Candy Please! Spooky Sewalong Part IV: A New Hope. Oh wait that's Star Wars. I meant Part IV: Pom-pom Pillows! Today we're going to add some fun pom-pom trim to our remaining rectangle Halloween shapes and turn them into fancy pillows! You can find the Candy Please! Project Panel at fine retailers of Moda Fabrics nationwide. For today's steps we're going to need the following supplies:
- The remainder of the Cute Halloween Shapes from last week
- About a 1/2 yd coordinating fabric for backing
- Mini Pom-pom trim
- Polyester Fiber Fill
- A chopstick, crochet hook, or bodkin, anything long and skinny that you can help turn your pillows out through the gap
- Sewing Supplies! You know, scissors, thread, pins or clips, a sewing machine, all the classics.
- *Optional Pumpkin Spice Latte

We're rolling right along today with some fun pom-pom trimmed pillows! I reserved some of the shapes from last week and...
Spooky Sewalong Part III: Spooooky Softies
Guest written by Jane Youn
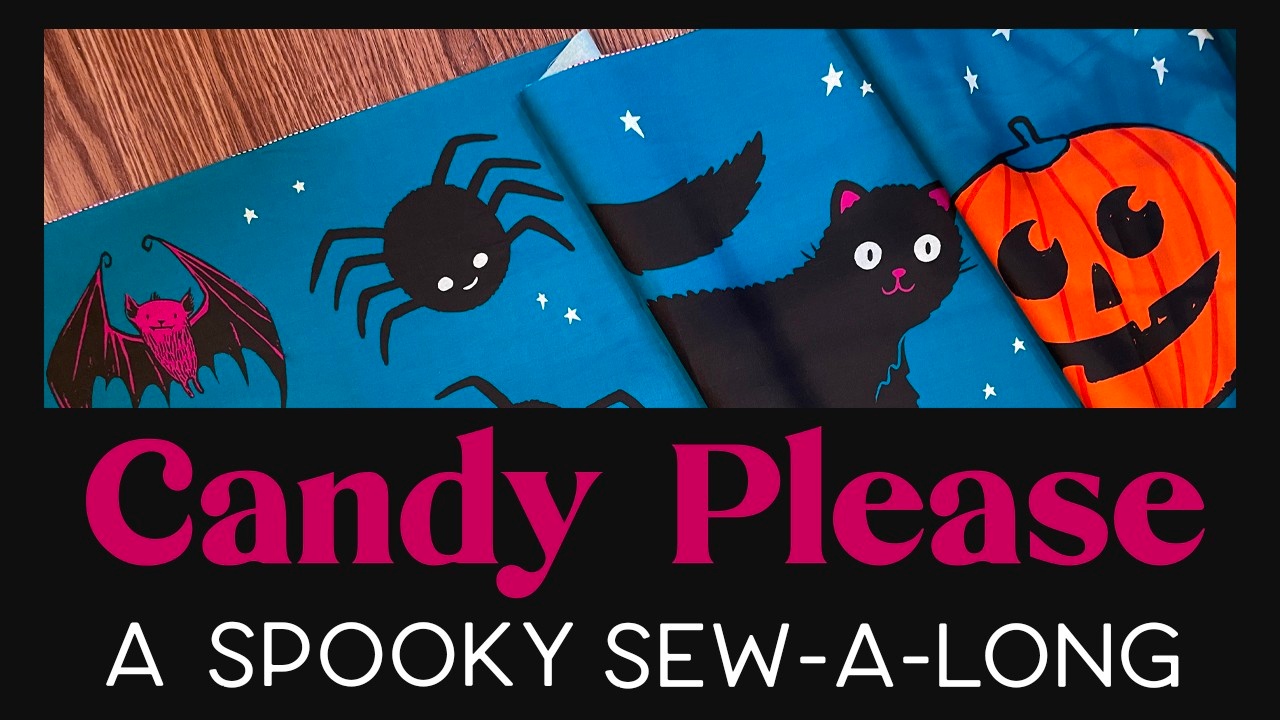
Welcome to our Candy Please! Spooky Sewalong Part III: Spoooky Softies. We are going to have a great time sewing up some curvy swerve-y pillow pals today! You can find the Candy Please! Project Panel at fine retailers of Moda Fabrics nationwide. For today's steps we're going to need the following supplies:
- The strip of Cute Halloween Shapes
- About a 1/2 yd coordinating fabric for backing
- Polyester Fiber Fill
- A chopstick, crochet hook, or bodkin, anything long and skinny that you can help turn your softies out through the gap
- Sewing Supplies! You know, scissors, thread, pins or clips, a sewing machine, all the classics.
- Jelly beans for fortitude
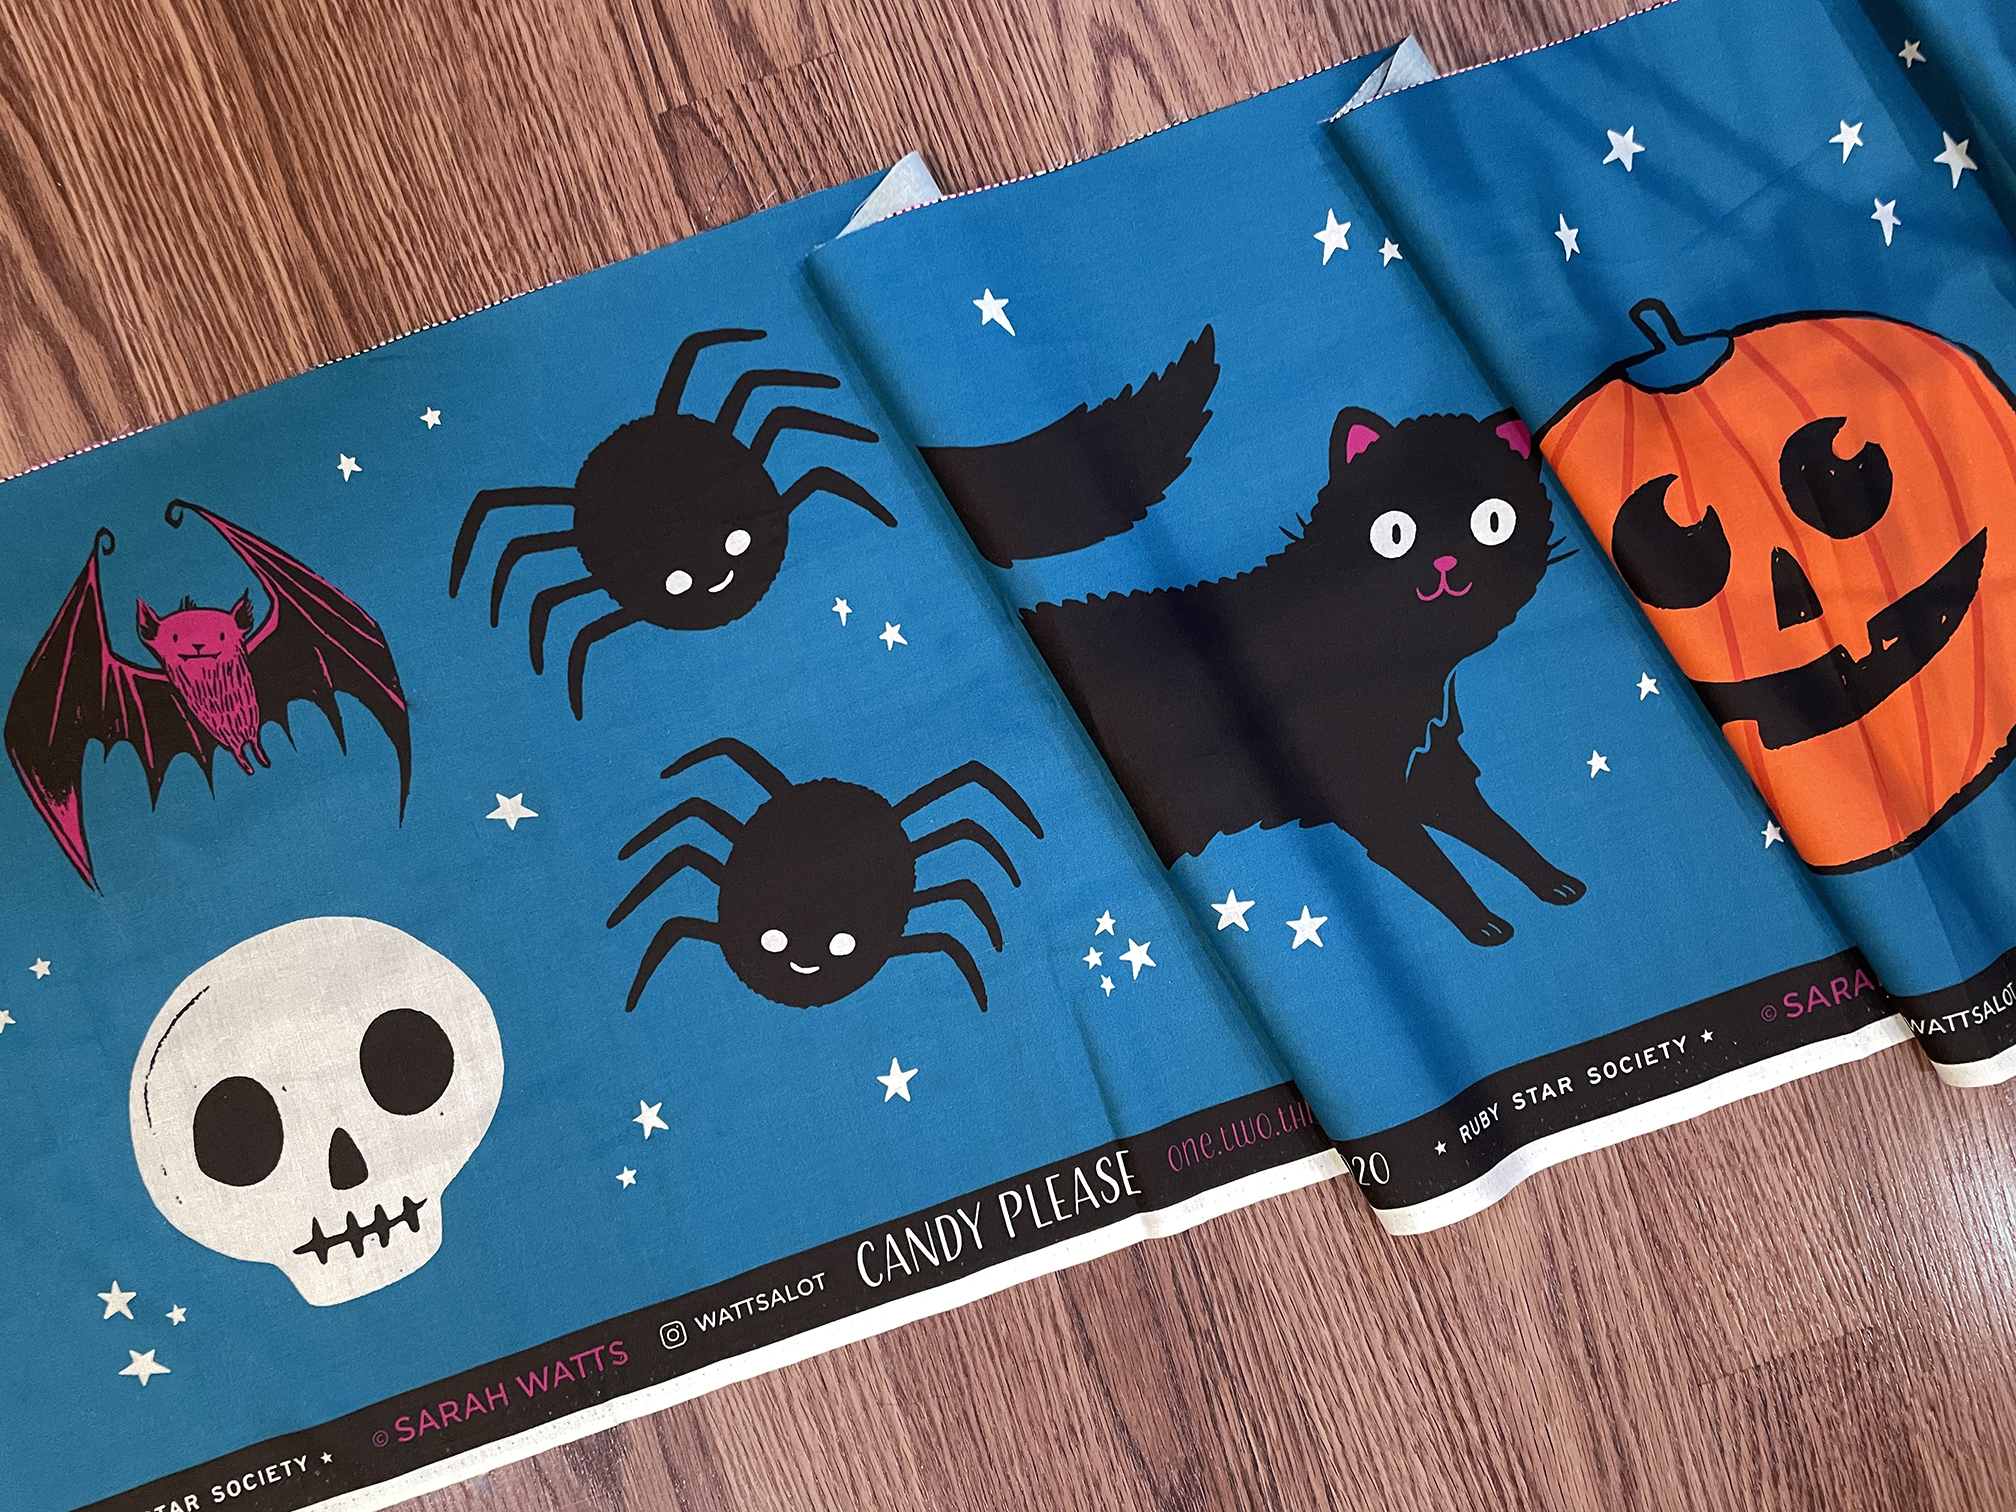
So in Part I, we carved up the whole Candy Please! panel. Today we're going to use about half of the long strip of cute Halloween shapes. We'll use the other half next week for pillows! For this project I really want to highlight all of those cute, curvy shapes. But we don't...
Spooky Sewalong Part II: Happy Halloween Bunting!
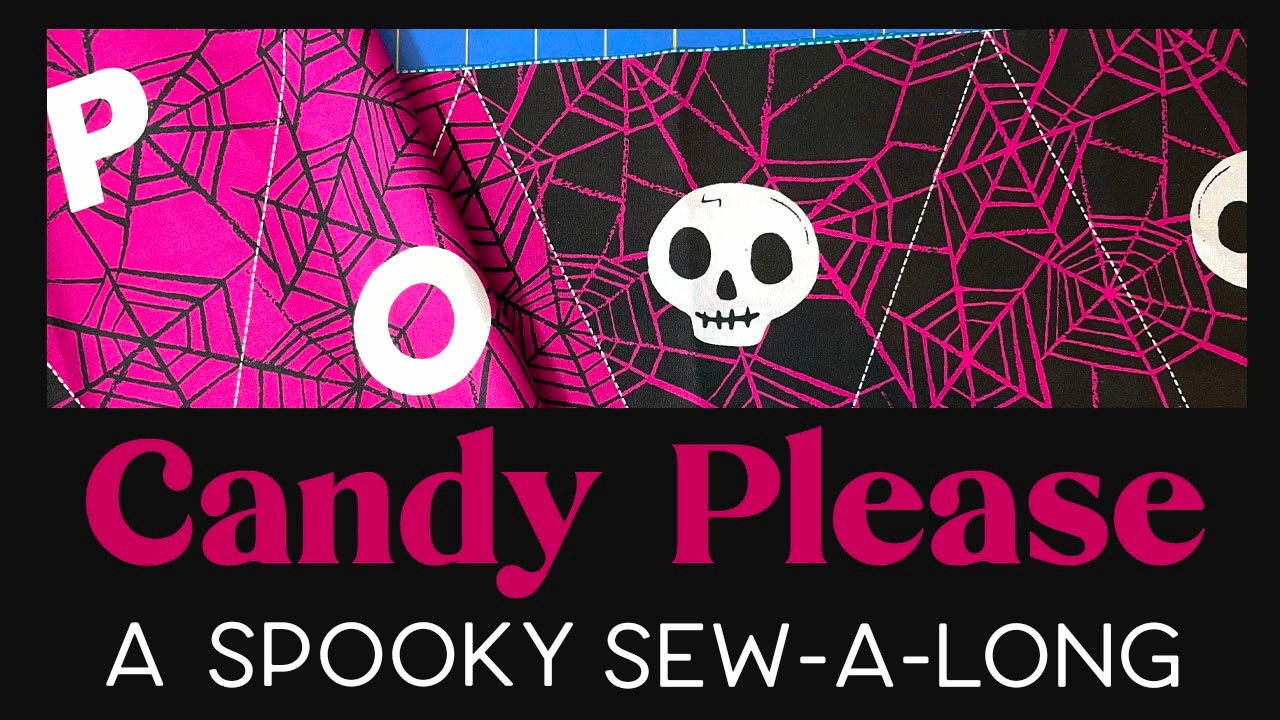
Guest written by Jane Youn
Welcome to our Candy Please! Spooky Sewalong Part II: The Bunting-ning. Okay I'm obviously still working on that title. Anyway, we are going to have a great time sewing up the Happy Halloween Bunting today! You can find the Candy Please! Project Panel at fine retailers of Moda Fabrics nationwide. For today's steps we're going to need the following supplies:
- The 17x Pennant Triangles and their corresponding backing pieces that we cut out last time
- About a 1/2 yd coordinating fabric for binding
- A 25mm Bias Tape Maker
- OR Premade Doublefold Bias Tape for Bunting
- Sewing Supplies! You know, scissors, thread, pins or clips, a sewing machine, all the classics.
- A snack of your choice
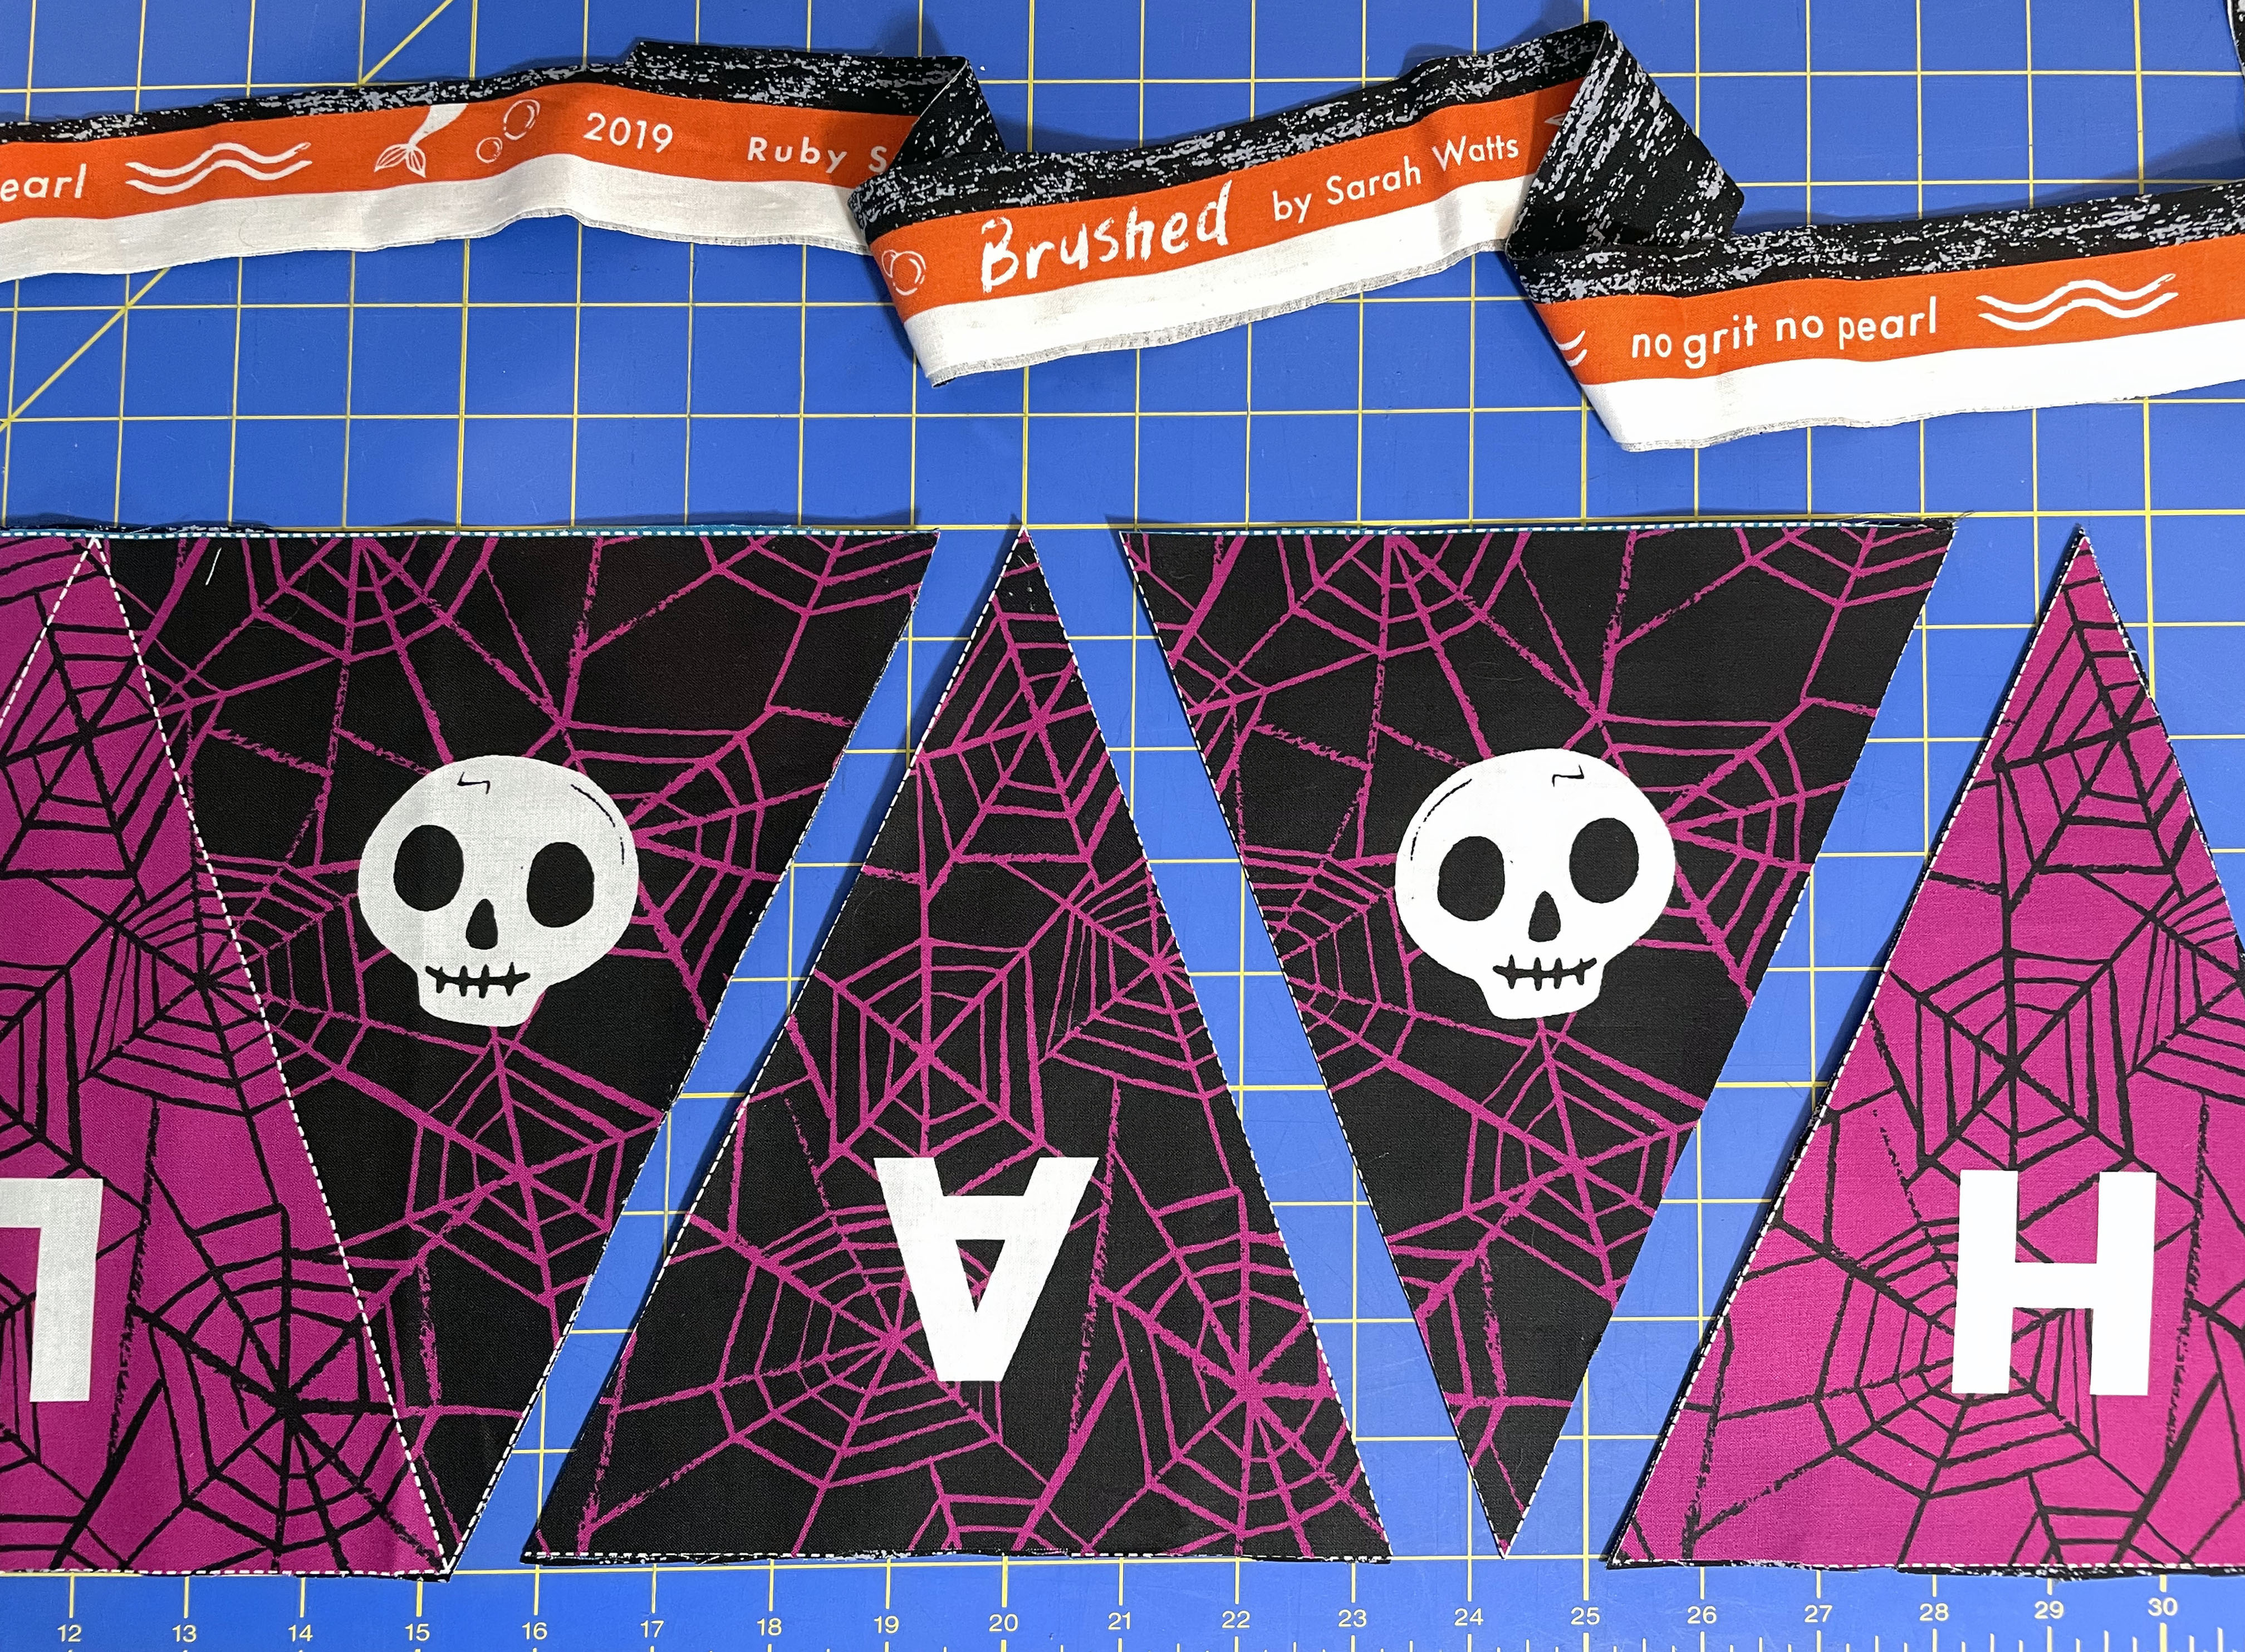
So last week we left off at cutting out our 17 pennant triangles and our 17 backing triangles. Next, we're going to sew them up! Take one triangle and one backing piece and place them right sides together (RST). With a ¼” seam allowance, stitch...
Spooky Sewalong Part I: Let's Carve Up This Panel!
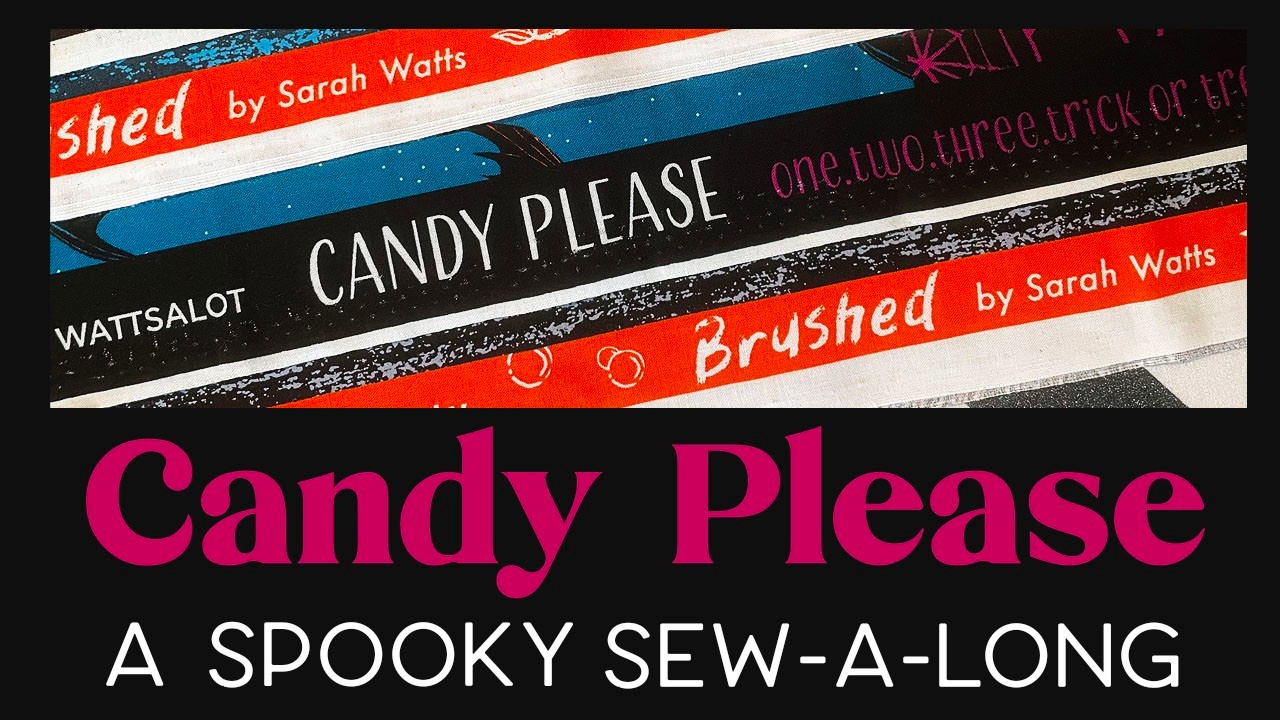
Guest written by Jane Youn. Jane is an artist, artisan, and adjunct Professor of Sewing here at the School for Misfit Makers. She loves spooky things, cats, snacks, and crafts. You can follow her @janeyouniverse on Instagram.
Boo! The BEST time of the year has almost arrived! If you don't know, October is our favorite month here at the School for Misfit Makers, because it's the spookiest season! And this year Sarah thought it would be fun to get into the spirit early and do a Sewalong Spooktacular with her Ruby Star Society Candy Please project panel! Over the next few weeks we'll be tackling each project one by one: a super fun Halloween Bunting, Spooky Softies, and the Countdown Calendar (to mark the best month of the year). Who knows, there might even be some tricks or treats along the way. This first week we’re going to choose fabric and also cut everything out from the panel before we get started! 
For all of these projects you're...
Repeating Pattern Design: Photoshop vs. Illustrator
In this clip I go over a little bit about why you would choose Photoshop vs. Illustrator to create your repeating pattern designs.


